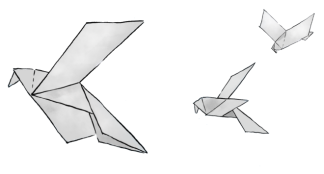
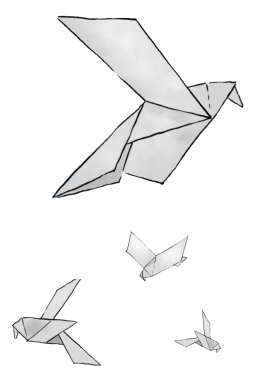
Create a dove, call for peace.
This is the moment for children to take the stage and for the world to listen. Be part of this!
How this is going to become real?
Children around the world are invited to create and share with the United Nations a dove in origami with their messages written inside, as a symbolic representation of their voice and plea for protection of their rights and for peace. The publicly displayed messages and collected origami doves will form the basis of an art installation to be exhibited at United Nations Headquarters in New York from February 2027 for six weeks.
- Download the toolkit and build your own origami dove.
- Write a message of peace inside the origami dove addressing world leaders.
- Send your origami dove to United Nations. We are collecting origamis around the world.
- An art piece will be created with all the origami doves collected and will be displayed at the United Nations in New York in February 2027.
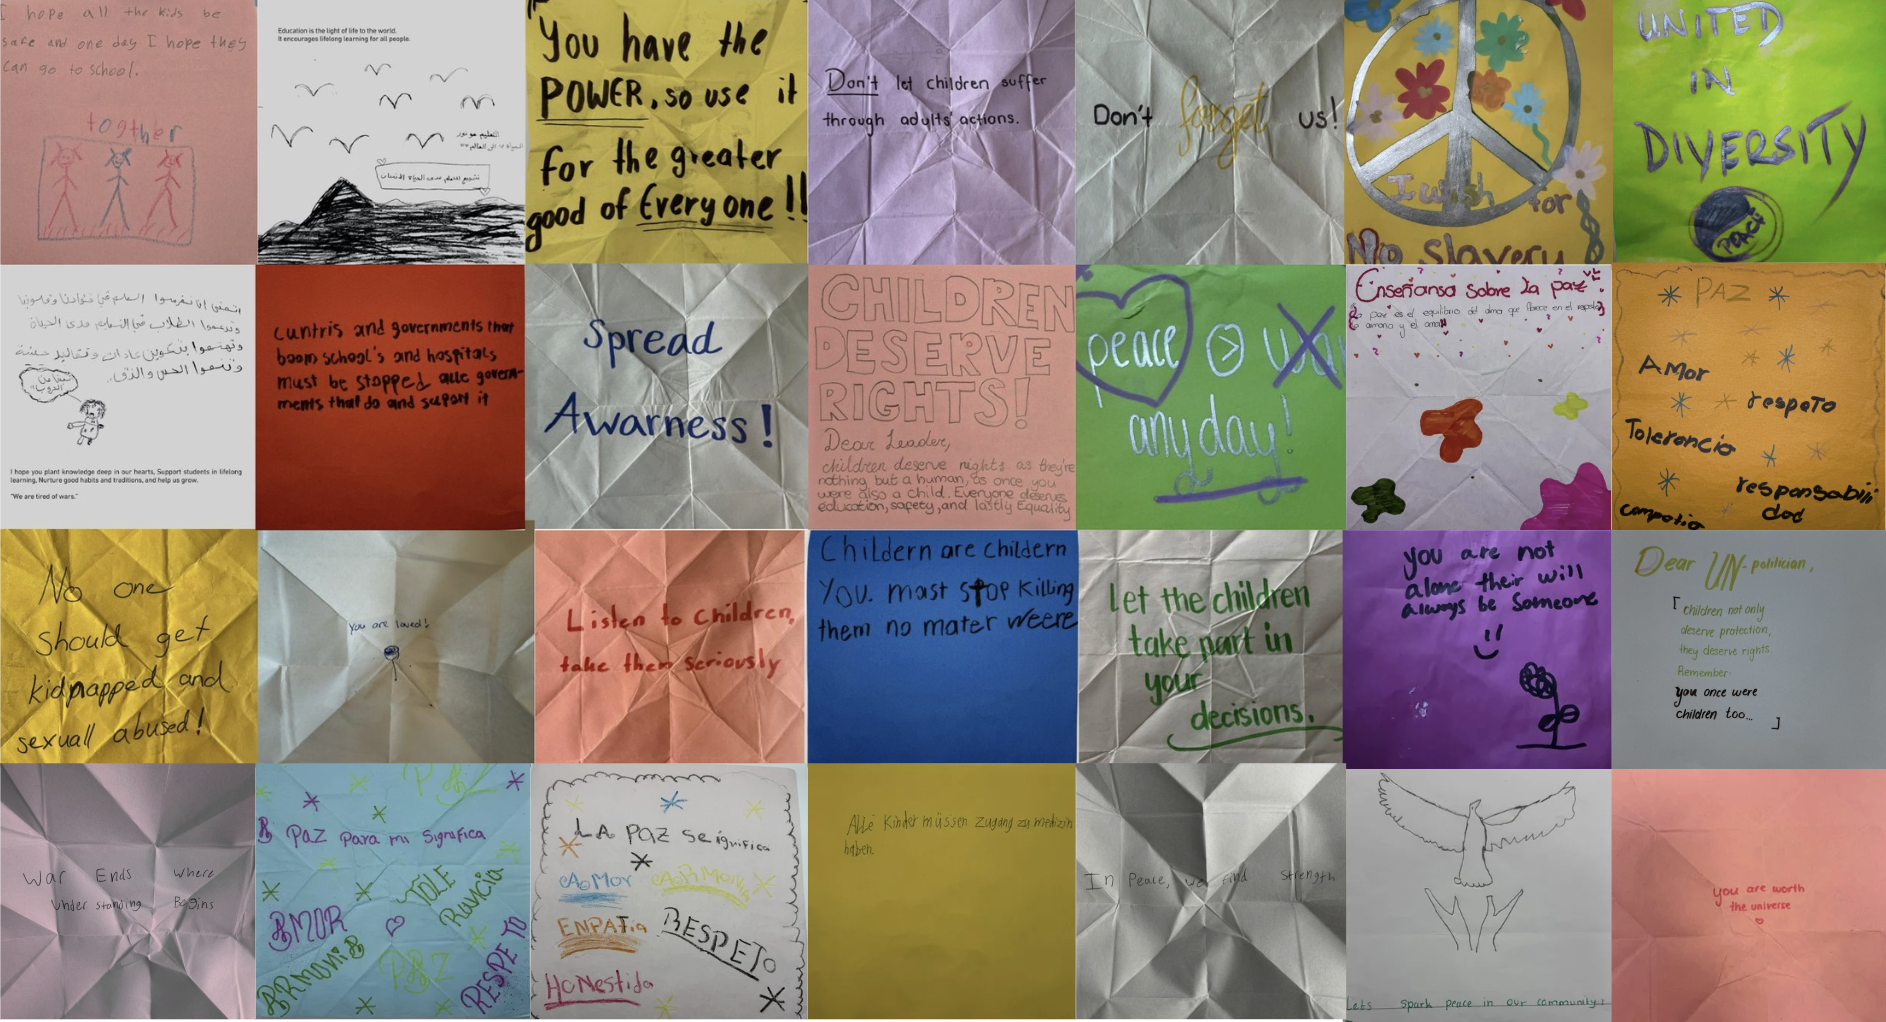
Children's messages
Nearly 10,000 children across regions and conflict-affected contexts have shared messages through Prove It Matters. Together, their voices form a powerful global call: protect us, listen to us, and prove that our rights matter. Below are some of the messages received.
Would you like to contribute with your dove of peace?
Let’s create it!
Step-by-step folding instructions

Take a square piece of paper.

Draw or write a message to the world leaders if you wish to and turn it to make it a diamond shape.

Fold the bottom corner up to the top corner and create a crease.

Unfold it, and fold the opposite corners together to create a second crease.

Leaving it folded in the shape of a triangle, fold the left-hand corner up to the meet the top centre point. Fold in place.

Do the same for the right-hand corner.

Now fold it backwards in half along the centre crease. You will have a triangle shape.

Turn your triangle upside down so the long side is at the top. (The side that can open should be on the right-hand side).

Now, take the left-hand point and fold it down to meet the bottom centre point. Make a crease.

Open it up again. The crease should look like this.

Now fold the bottom centre point (top layer only) to meet the top edge.

Open it up again. The crease should look like this.

Now, use your left index finger to hold the paper down. Insert the fingers of your right hand between the top layer of paper on the right-hand side and push the paper up gently with your right thumb to make a wing.

A diagonal crease should meet the top edge of the paper. Create a hard fold here on the bottom of the wing

Turn it over.

Now take the right-hand point and fold it down to meet the bottom centre point. Make a crease.

Open it up again.

Now fold the bottom centre point to meet the top edge. Open it up again.

Use your right index finger to hold the paper down. Insert the fingers of your left hand between the top layer of paper on the left-hand side and push the paper up gently with your left thumb to make the second wing.

Fold in place.

To make the tail, fold the bottom longer section over the line in the middle of the body.

Create a crease.

Flip it over and do the same on the other side. Open it up.

Now fold the tail in half so that the long edge meets the edge of the body.

Create hard crease on this new line in the middle of tail.

Open it up again. It should look like this.

Do the same on the other side.

Slide your thumb into the gap at the base of the tail, and press down on the top crease so that it folds down into the centre.

Now take the outer flaps and fold them downwards over the body to create the tail.

To make the head, make a small fold at the top corner. Unfold, and do the same on the other side. Unfold.

Now open up the head section, and gently push the fold inside. You have made the beak.

YOU DID IT! :)